Planning guide · Open sides
One side open stall design: give the entrance a clear purpose.
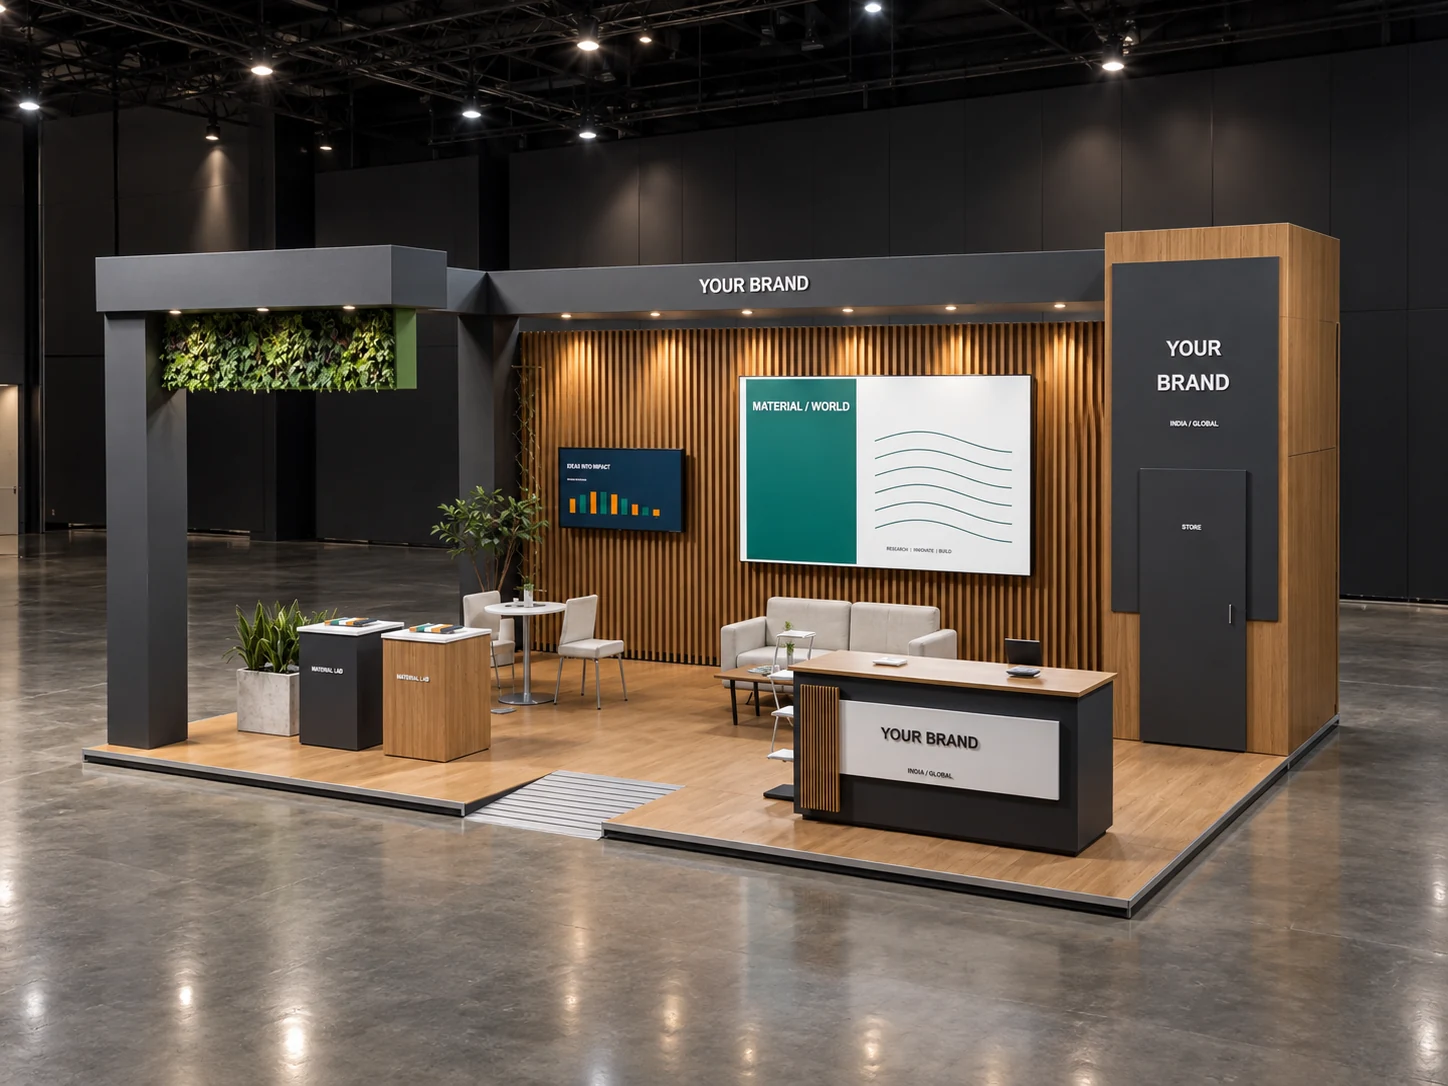
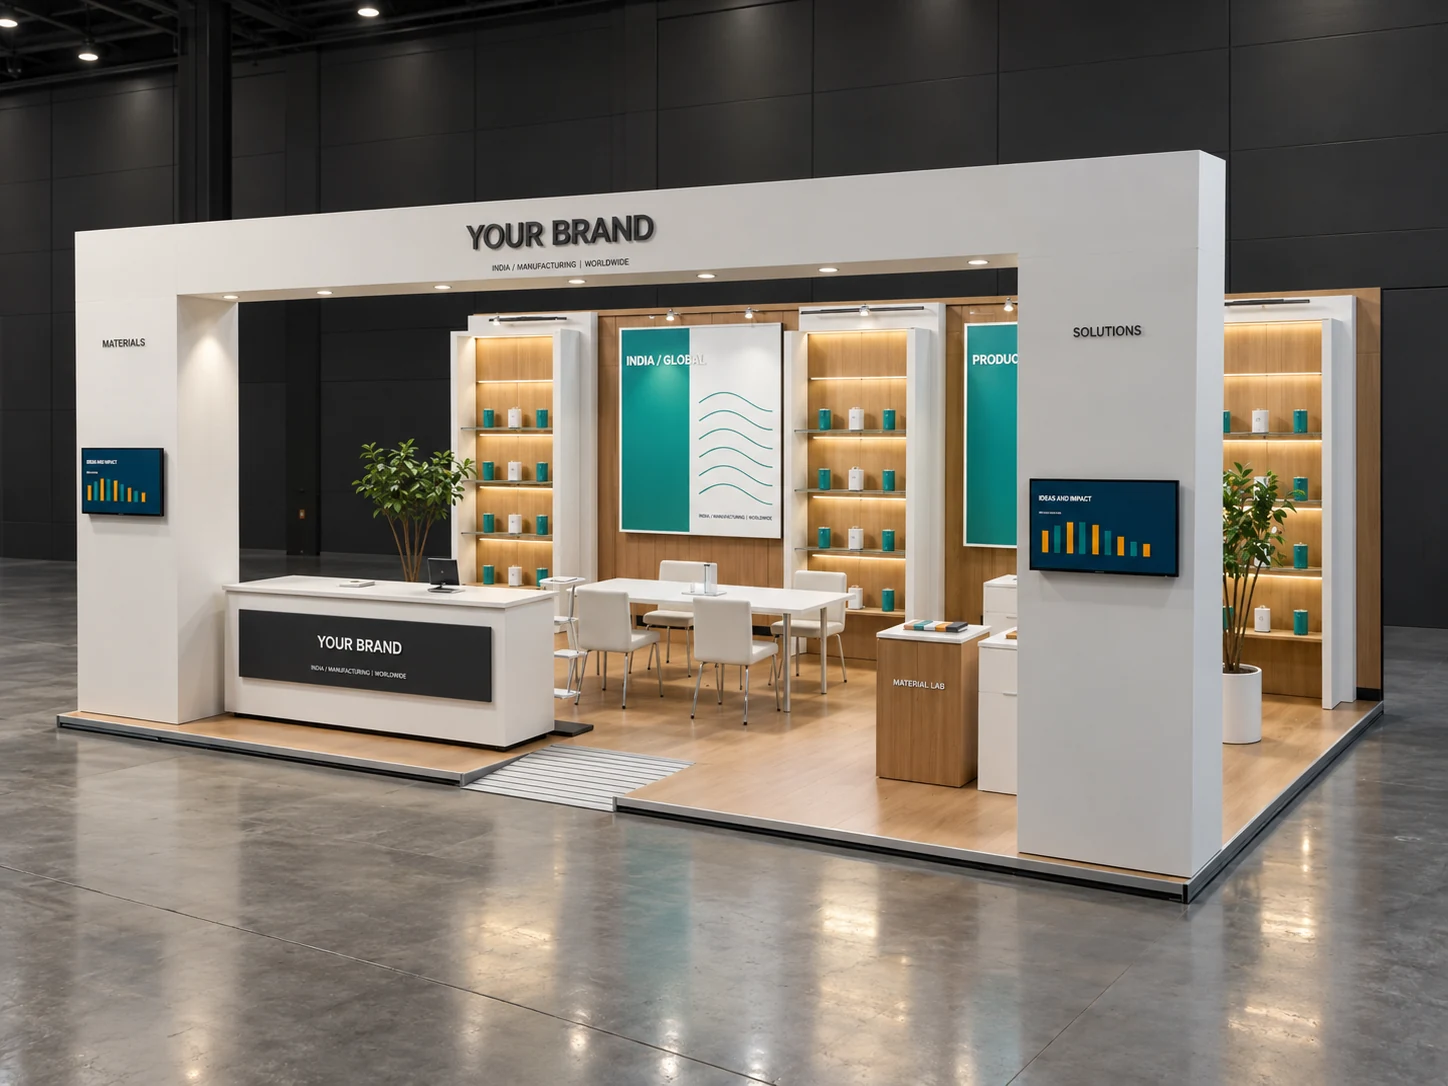
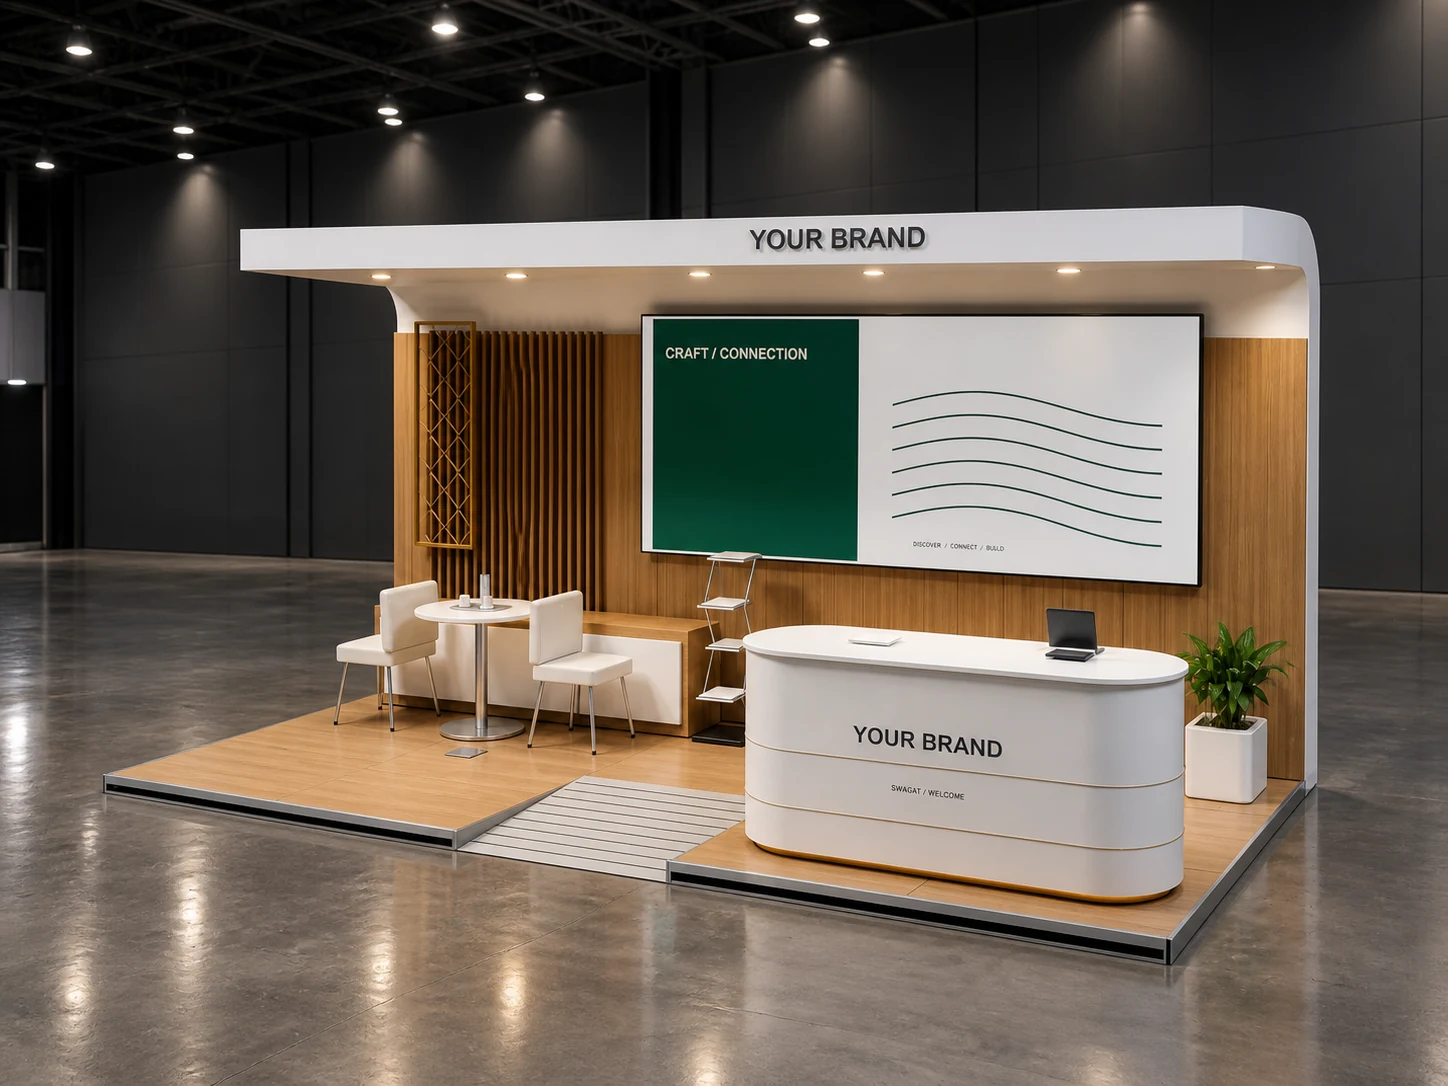
An inline stall has one public frontage and usually three closed boundaries. Every visitor arrives from the same aisle, so the entrance, first message and route to the product need to work together. More wall space is useful only when it supports a readable display.
Start here
- Show the most important product from the aisle.
- Leave an inviting entrance rather than a counter across the frontage.
- Separate quick conversations from longer meetings.
01
Use the frontage to explain what is inside
Look at the stall as a visitor walking past, not only as someone facing the back wall. A single strong message and one visible product give people a reason to pause. Detailed specifications can sit beside the display, where an interested visitor can read them without standing in the entrance. A large reception counter across the front often conceals both the product and the space behind it.
Confirm the organiser’s exact width, depth, wall conditions and any columns or service points. A wide, shallow booth behaves differently from a narrow, deep booth with the same area. Choose your primary activity before deciding how much of the frontage to reserve for display, welcome and circulation.
02
A 6 × 3 metre example with a readable centre
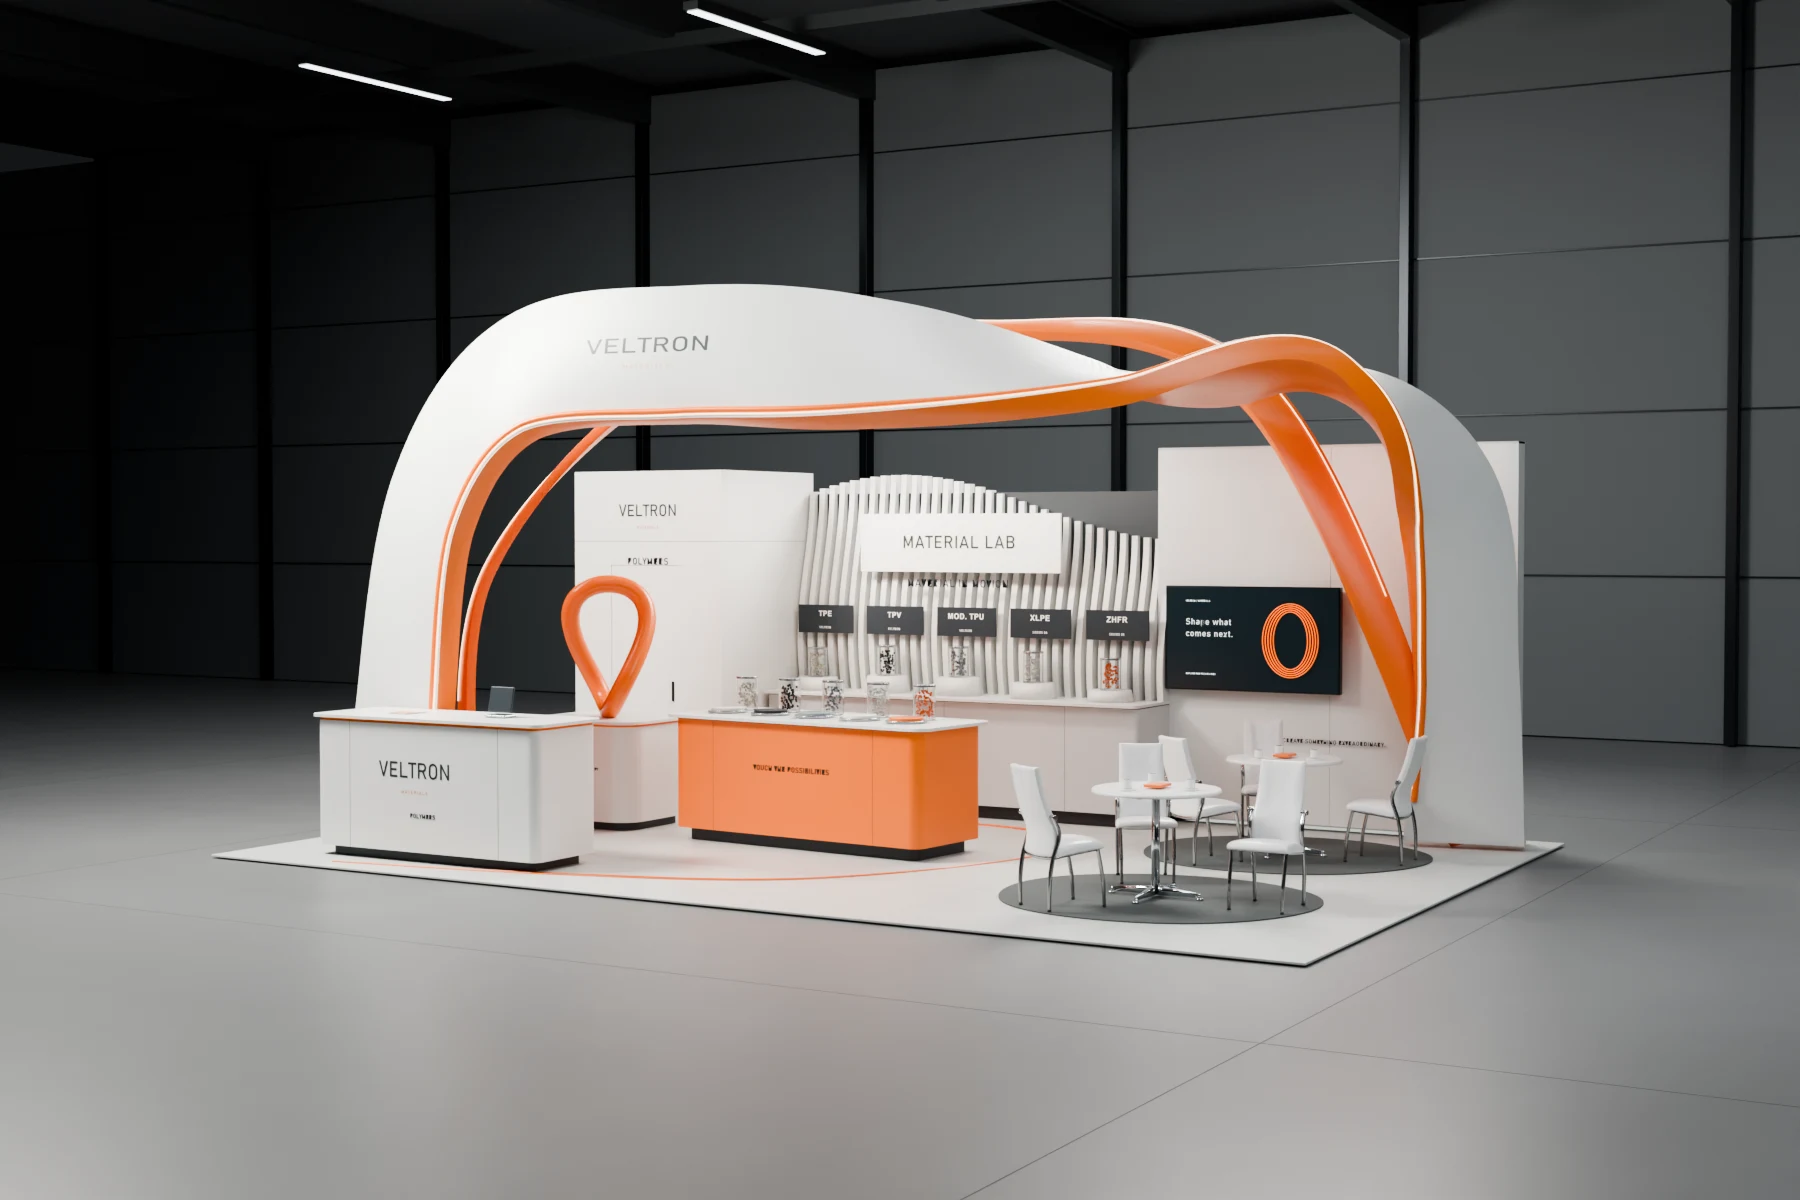
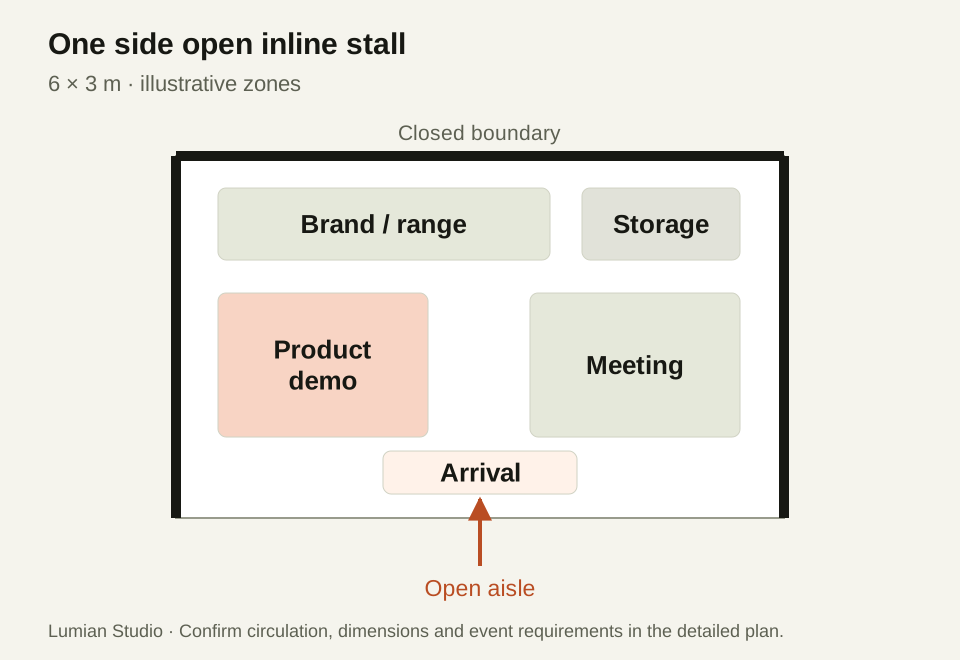
Imagine a supplier showing product samples and hosting short buyer conversations on an 18 square metre footprint. Place the main brand message at the rear, a product demonstration towards one side and a compact meeting zone towards the other. A small rear storage area holds packaging and staff belongings. The centre remains an arrival space, allowing a host to guide the visitor to the relevant activity.
This example prioritises a view into the booth rather than creating a corridor to the back. If your product needs handling space, equipment access or a longer demonstration, start with that requirement and reduce other elements. Do not assume the sample zoning can accommodate every product or staffing level.
03
Choose displays that work with the depth
Wall-mounted samples or shallow display fixtures can release floor space, where appropriate for the product and approved wall system. Freestanding equipment needs its operating area shown on the drawing, not only its footprint. Include the person presenting and the visitor using it. Position screens where they can be watched without turning the entrance into a queue.
Use lighting to identify the product and support legible graphics. Avoid treating more fixtures or more graphics as an automatic improvement. A clear rear message, a visible demonstration and a place for the visitor to pause are often more useful than several competing features.
| Situation | Layout response | Check before approval |
|---|---|---|
| Quick product enquiries | Visible sample display near the entrance | People can pause without blocking arrival |
| Scheduled buyer meetings | Quieter seating set back from the frontage | Seated visitors and hosts fit comfortably |
| Live demonstration | One defined demonstration zone | Operator, viewers and equipment access are included |
| Many small products | Edit and group the display range | The main product remains easy to identify |
04
Check the booth during a real conversation
Walk through the sequence: a visitor sees the product, steps inside, speaks to a host and either views a demonstration or sits down. Then test a second visitor arriving while the first conversation continues. If the staff must move a chair or stand in the aisle for that sequence to work, simplify the layout before adding more structure.
For a supplied shell scheme, review the package dimensions and permitted modifications before ordering displays or graphics. For a custom build, confirm detailed drawings, finishes and organiser approval responsibilities. Send the floor plan, product list, staffing and visitor objective together so those choices can be assessed as one brief.
Before you begin
Practical questions.
- Can a one side open stall include a meeting room?
- Possibly, depending on the footprint and meeting needs. An enclosed room uses floor area and can hide the display; compare it with a quieter open seating zone before committing.
- Is a central entrance always the best option?
- No. Product size, aisle approach and staff workflow may favour an entrance towards one side. Judge the route from the real floor plan and visitor activity.